Create a Personal Timesheet (My Timesheet) | iOS
In this article, we’ll show you:
-
Part 1 - Record a Timesheet for Yourself (9 steps)
-
Part 2 - Edit a Timesheet (2 steps)
-
Part 3 - Delete a Timesheet (1 step)
If you want to know how to record sick/annual leave, check out our article Recording Sick Days or Leave Types for Personal Timesheets.

Part 1 - Record a Timesheet for Yourself
Step 1
- Click on the menu icon in the top left

- Click on My Timesheet

Step 2
- Click Clock In
Note: You can also view summaries, or record work for previous days by clicking on Today at the top of the page and choosing the relevant date on the calendar.

Step 3
- Click on the job you’ll be doing.

Step 4
- Choose the location
Note
For a more general job such as mowing, you can choose just the orchard. If it's a job specific to a block or a variety, make sure to select the exact area.

Step 5
- Choose your Start Time
- Click Clock In

Step 6
Now you’ll be able to see a summary of the job you’ve recorded.
If you have another job to record for the day, or you’re working on the same job in a different location,
- Click + Add Job
Note
If you’re done for the day, skip this step and go to step 7.

Step 7 - Record a Lunch Break
- Click Add Lunch Break
Note
If you haven’t taken a lunch break, skip this step and go to step 9.

Step 8
- Choose Start time for the lunch break
- Select lunch break length
- Click Update Lunch Break

Step 9
If you're finished for the day
- Click Clock Out

- Choose the time
- Click Clock Out

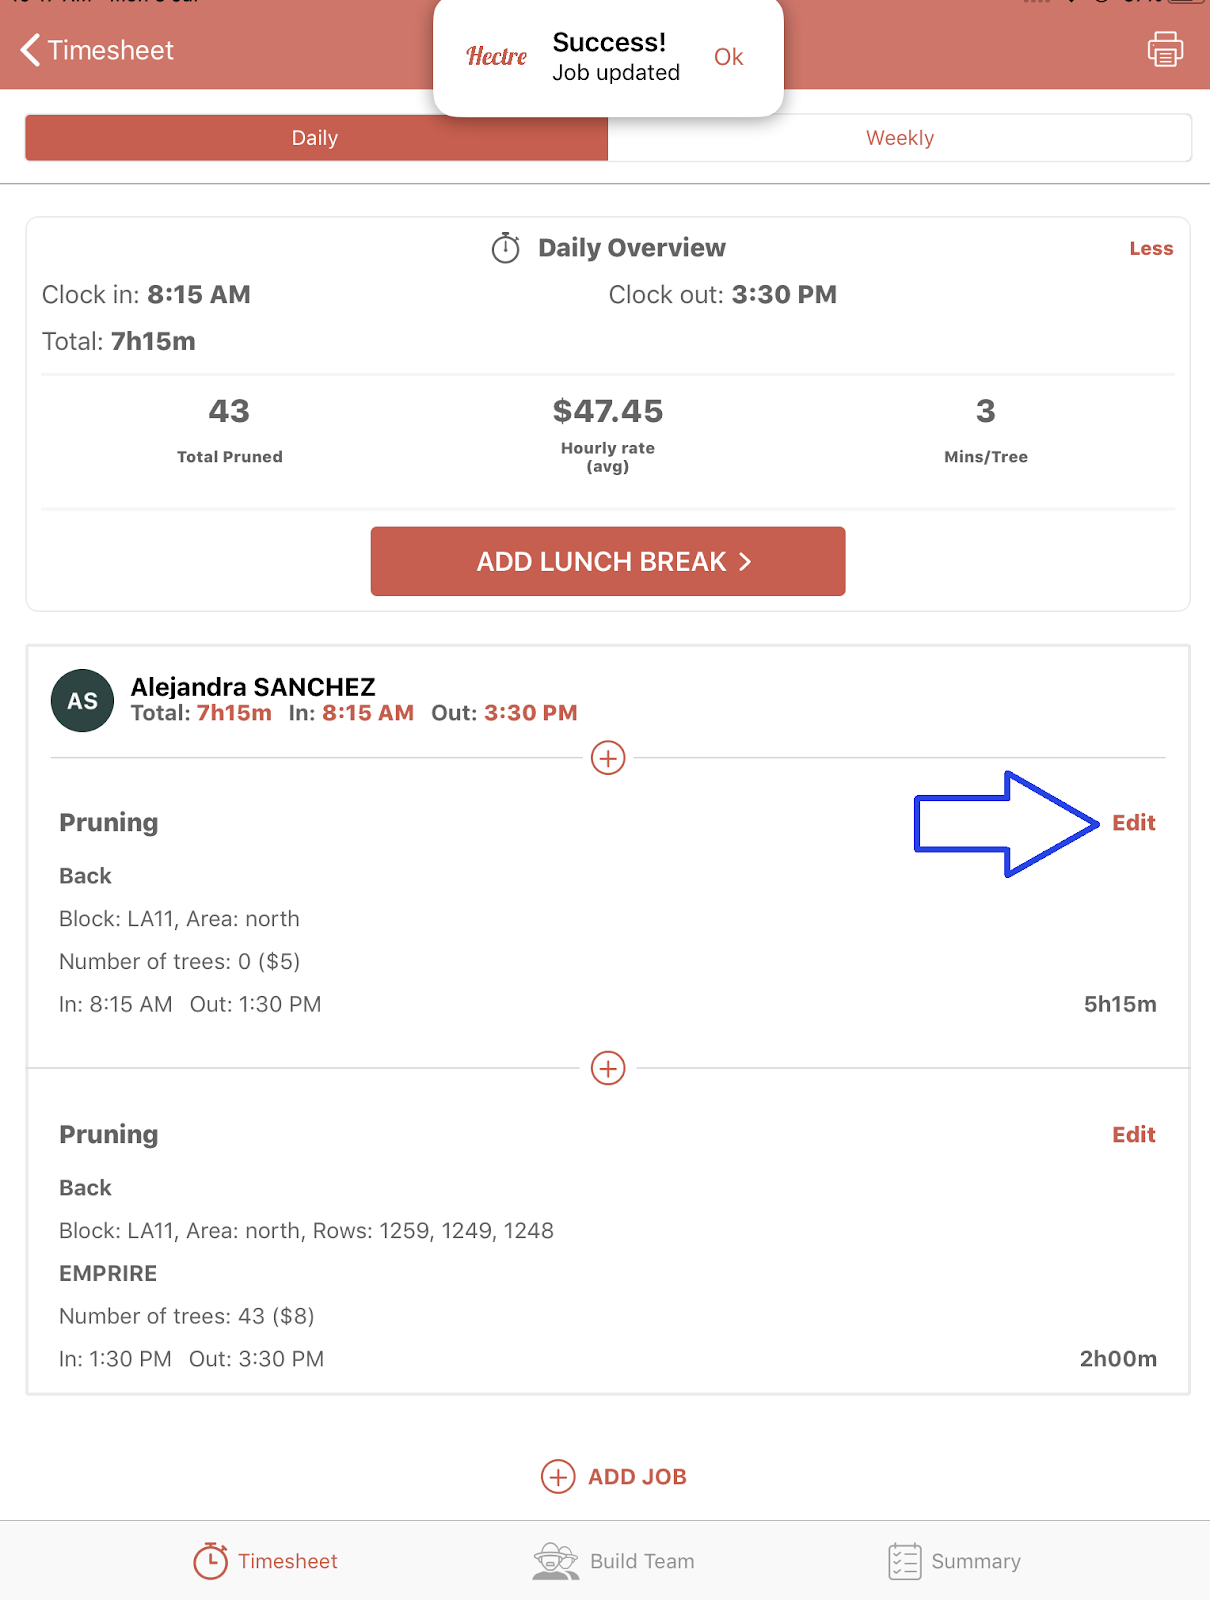
Part 2 - Edit a Timesheet
Step 1
- Click Edit on the job you want to edit
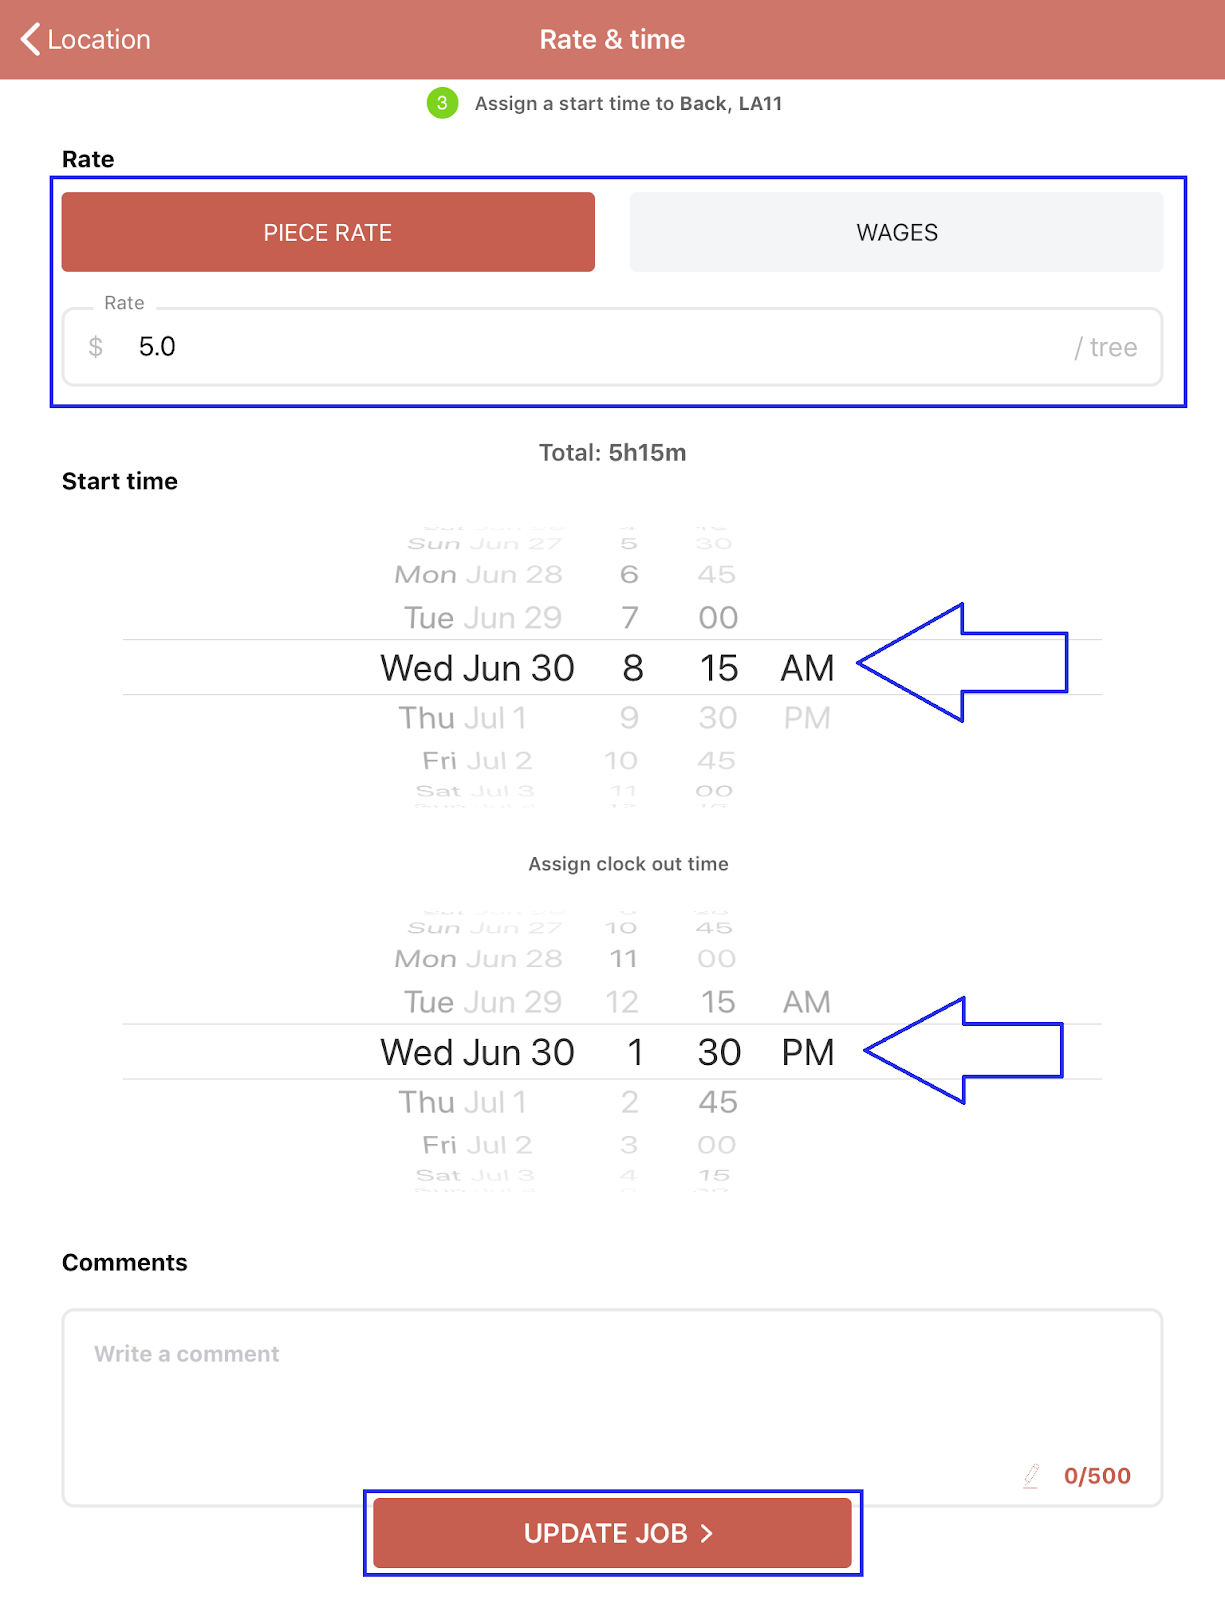
Step 2
You’ll be prompted to update the:
- Job
- then Location
- then Start time and Clock Out time
- Click Update Job to save changes
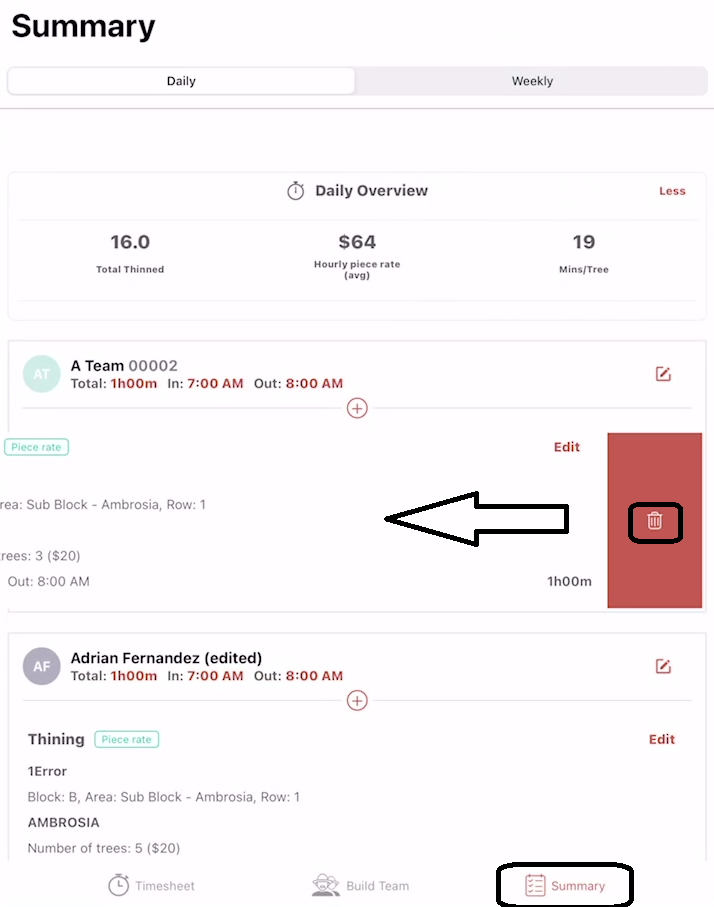
Part 3 - Delete a Timesheet
Step 1
- Swipe left on a job you want to delete
- Click the Trashcan icon